Follow the steps below to connect your Wayfair store with Inventory Ahead:
In your Wayfair account, please navigate to the “Application” section located within the “Developer” column.
.jpg)
Click on the “New application” button to create two applications: one for production and one for the sandbox environment.
.jpg)
Then click on edit to get the client ID.
.jpg)
Choose the client ID and then click on the option to “rotate secret” in order to obtain the secret key.
.jpg)
Now, go to your Inventory Ahead account.
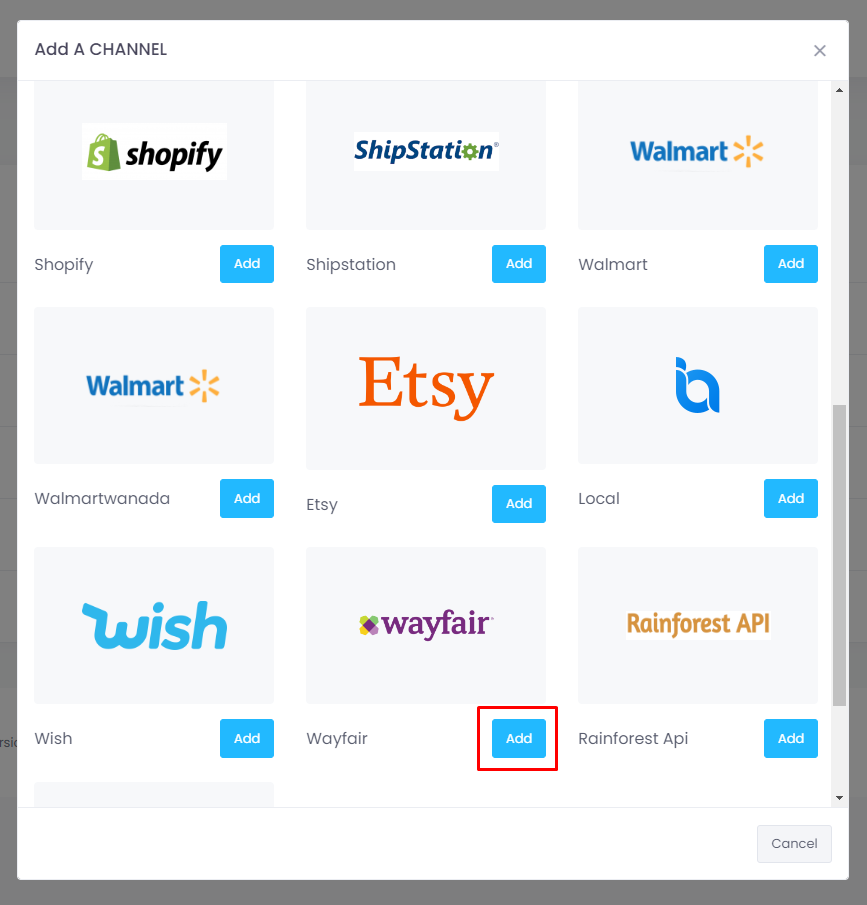
On the Settings page, navigate to “Selling Channels” and select the option to add a Wayfair Store.
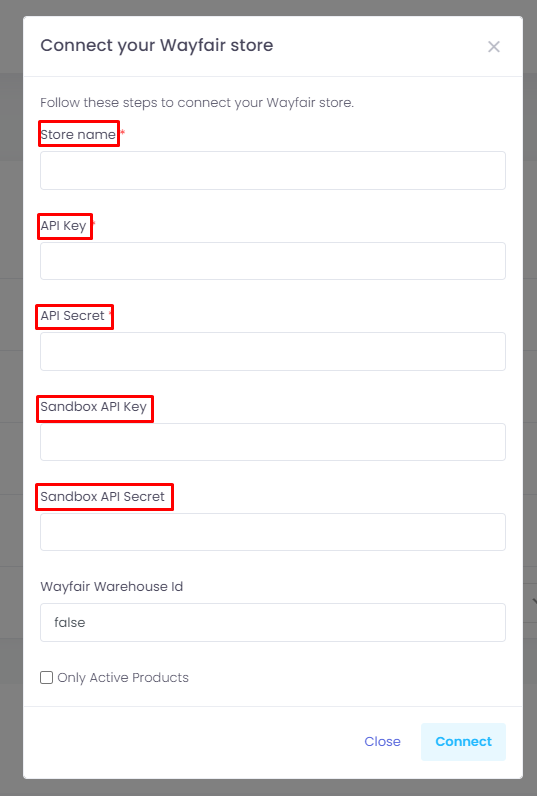
Enter your preferred store name, followed by the relevant information obtained from your Wayfair account.
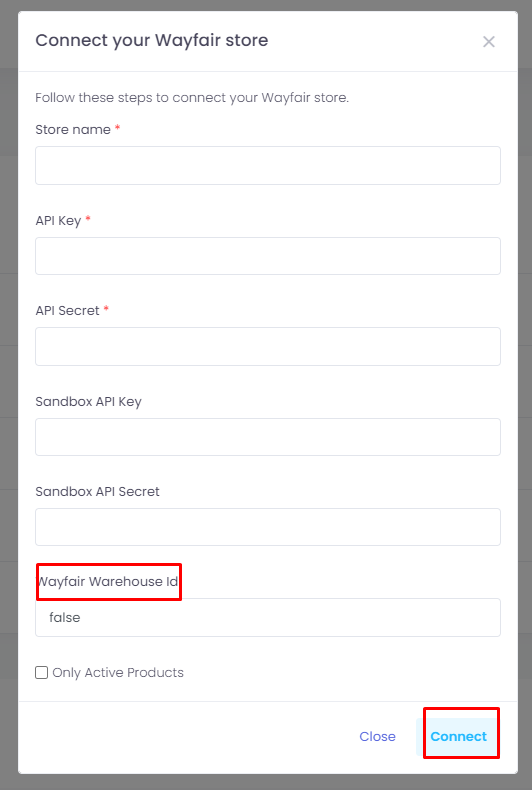
To obtain your “Wayfair Warehouse ID,” access your Wayfair account and navigate to the “Documentation” section within the “Developer” category.
.jpg)
Select “Inventory Management page” under the “Testing Inventory” tab.
.jpg)
Select “Import Inventory”
.jpg)
Under “List of your warehouses and IDs” , you will find the Supplier ID, which serves as the “Wayfair Warehouse ID” that you need to enter in Inventory Ahead.
.jpg)
Enter the “Wayfair Warehouse ID” and click on the “connect” Button.
Once you have completed the steps mentioned, Inventory Ahead will automatically initiate an inventory test with Wayfair. If your account successfully passes the test, it means that the integration between your Wayfair account and Inventory Ahead is complete and fully functional. Congratulations!


