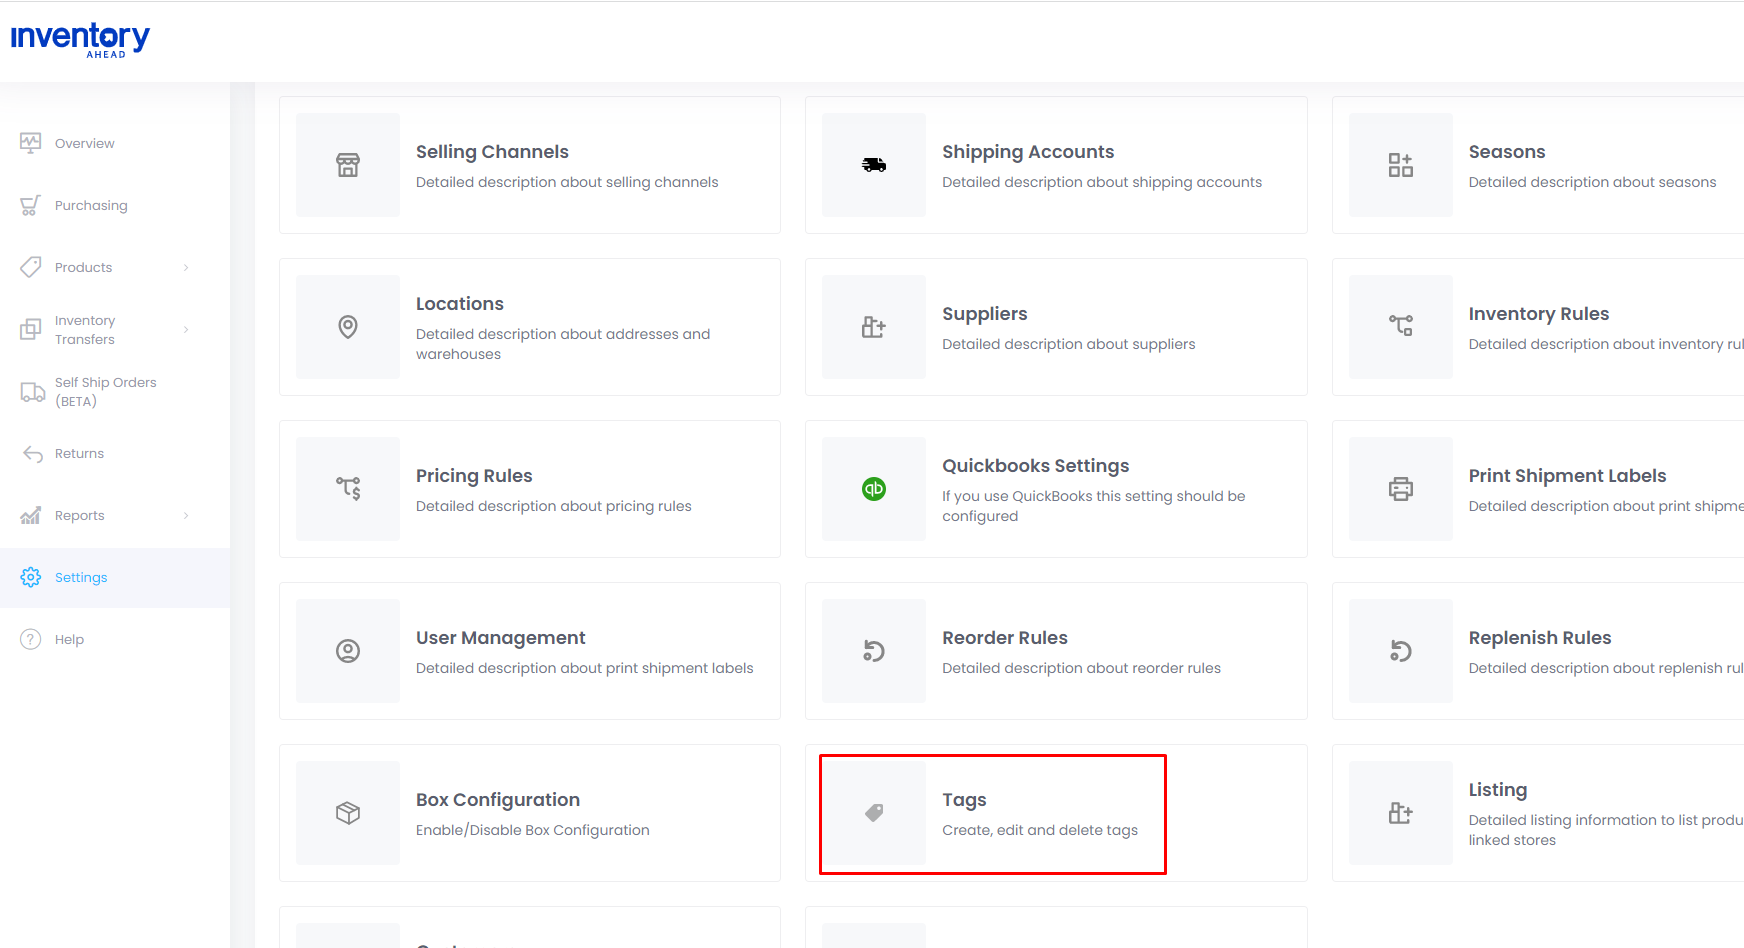
Navigate to the settings page, and select “Tags”.
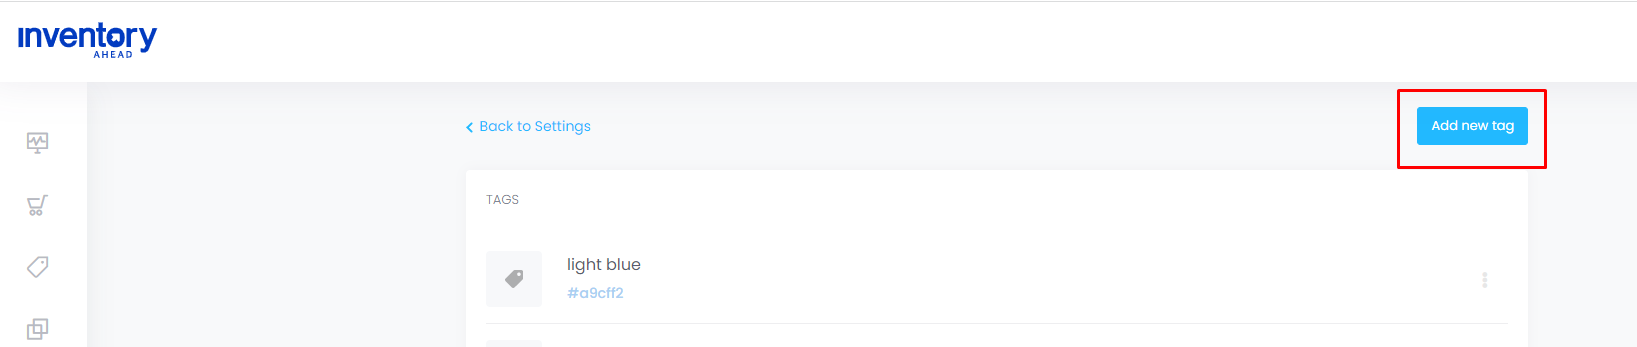
Click on the “Add new tag” button.
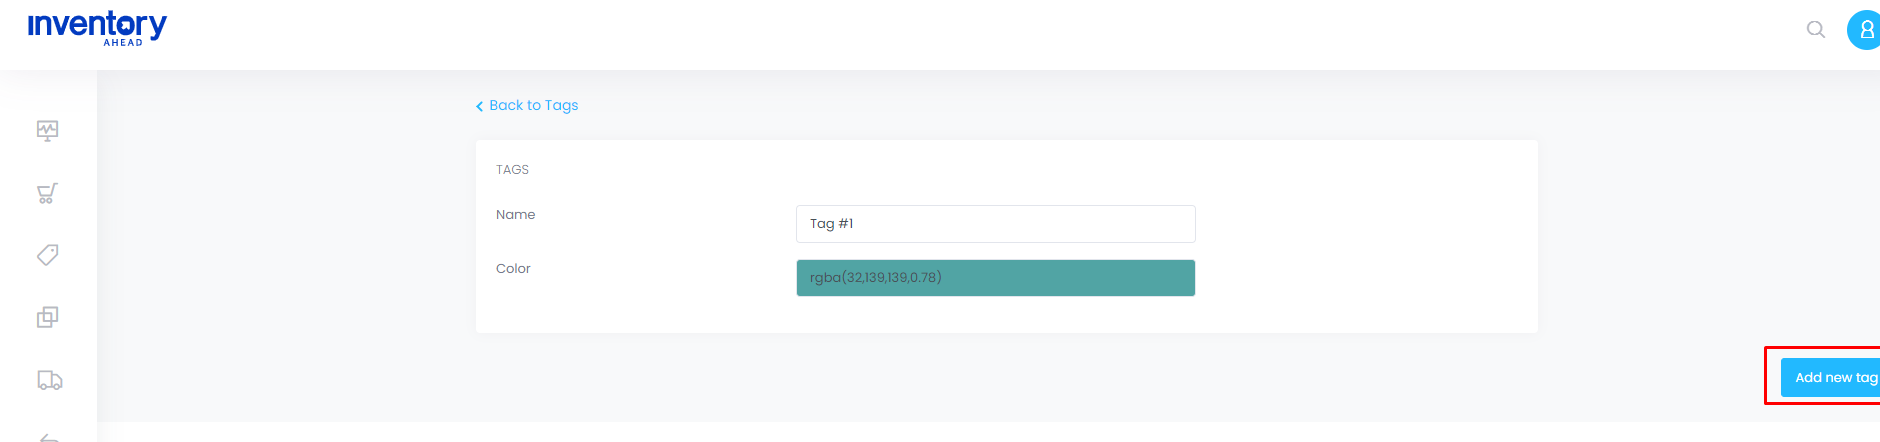
Enter the tag name, choose a color, and press “Add new tag”
There are two ways to assign a tag to an item:
Option#1. Individually to an item.
Option#2. Bulk upload.
Option#1 – How to assign a tag to an individual item.
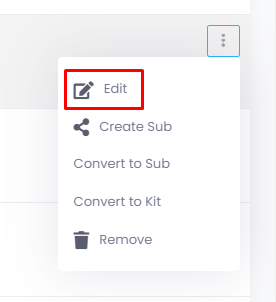
On the products page click on the ellipsis icon and click “Edit”.
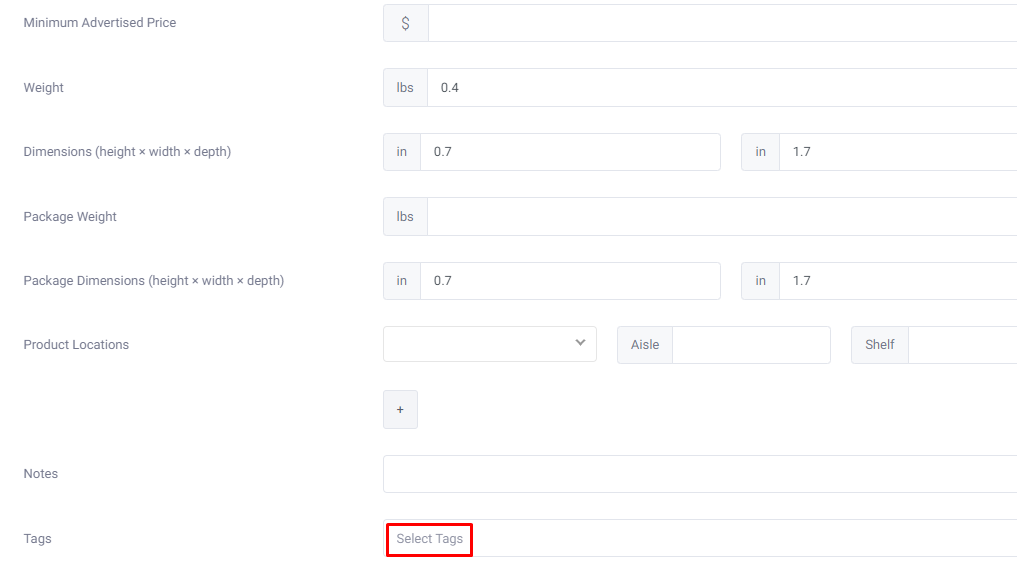
Scroll down to the bottom of the page, and click on “Select Tags”.
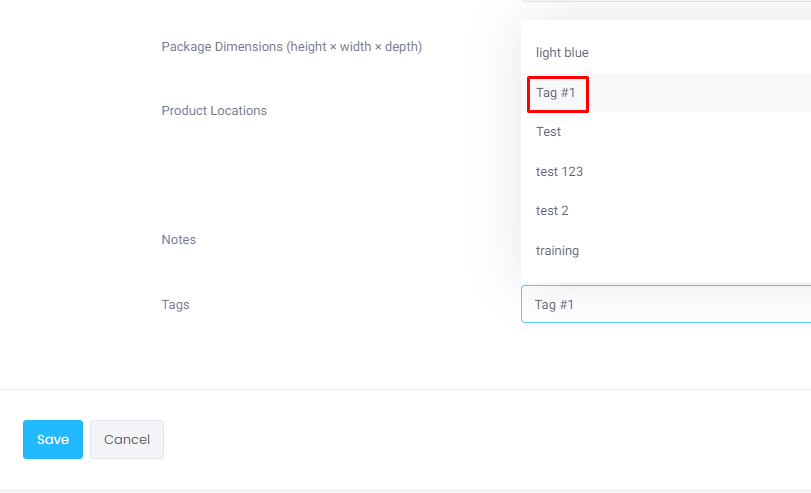
Choose a Tag you would like to assign to the product, and click the “Save” button.
Option#2 – How to assign Tags with a bulk upload.
First, it is important to ensure that you have the SKUs of the products to which you would like to assign the tags ready in a CSV file.
There is an option to export your SKUs to CSV from the “Products” page, click Here for a guide on how to do so.
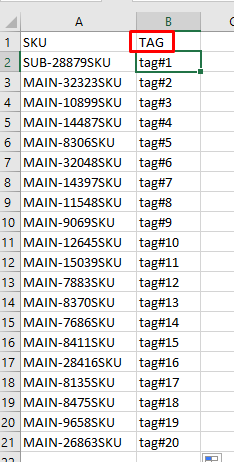
In your excel file, in column A make sure that all the SKUs are entered correctly. In column B you enter the tag name.
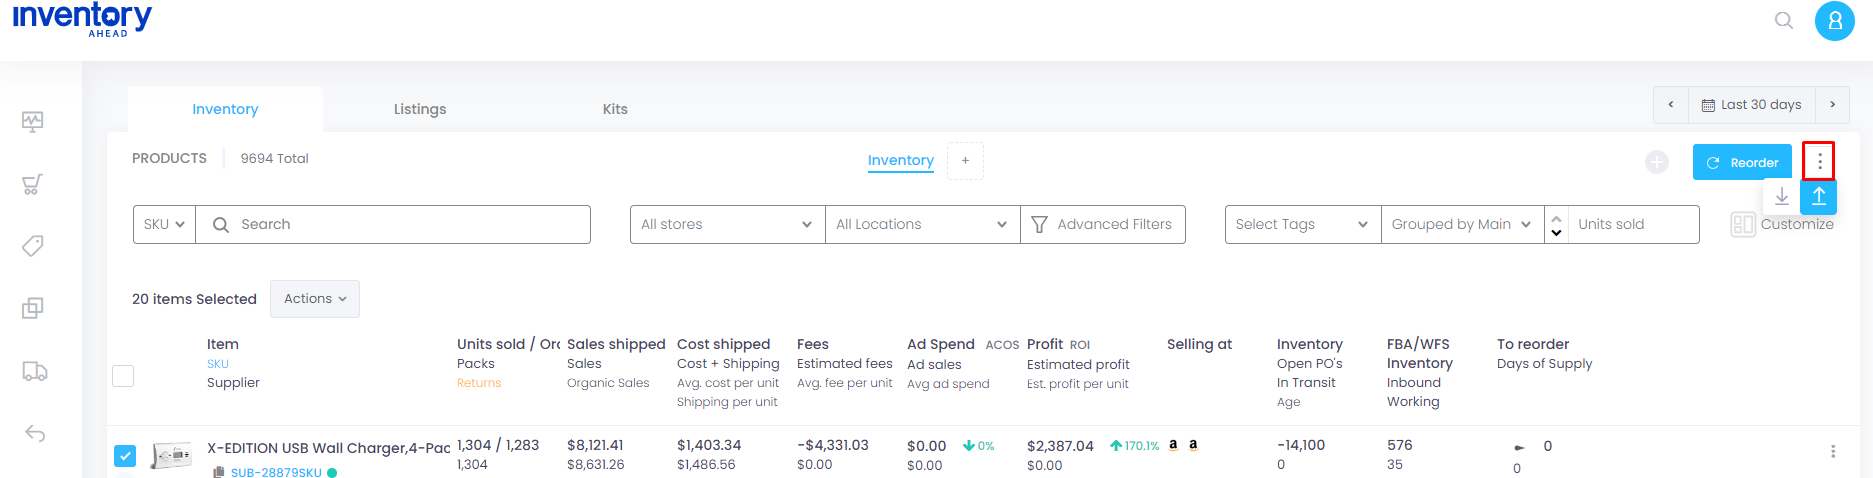
To proceed, navigate back to the products page, click on the ellipsis icon, and select the upward arrow option to initiate the upload process.
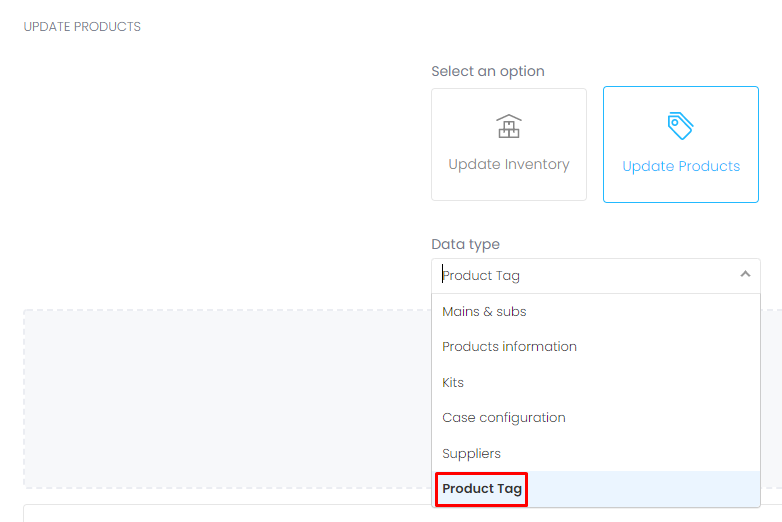
Select “Update Products” and enter “Product Tag” as the data type.
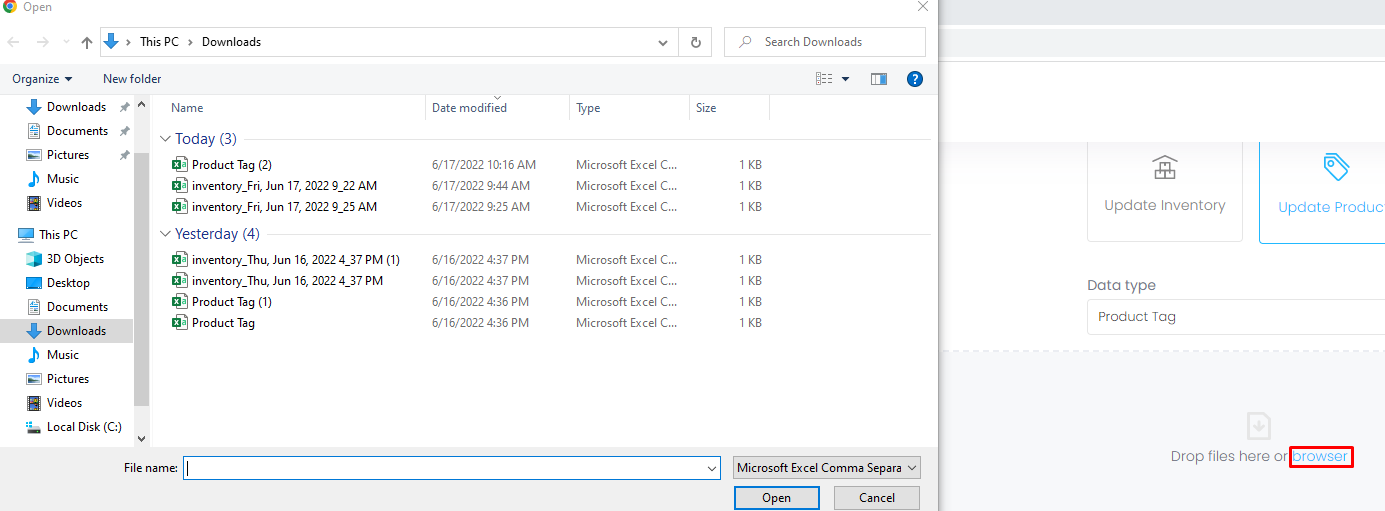
Click on “browser” and open your file.
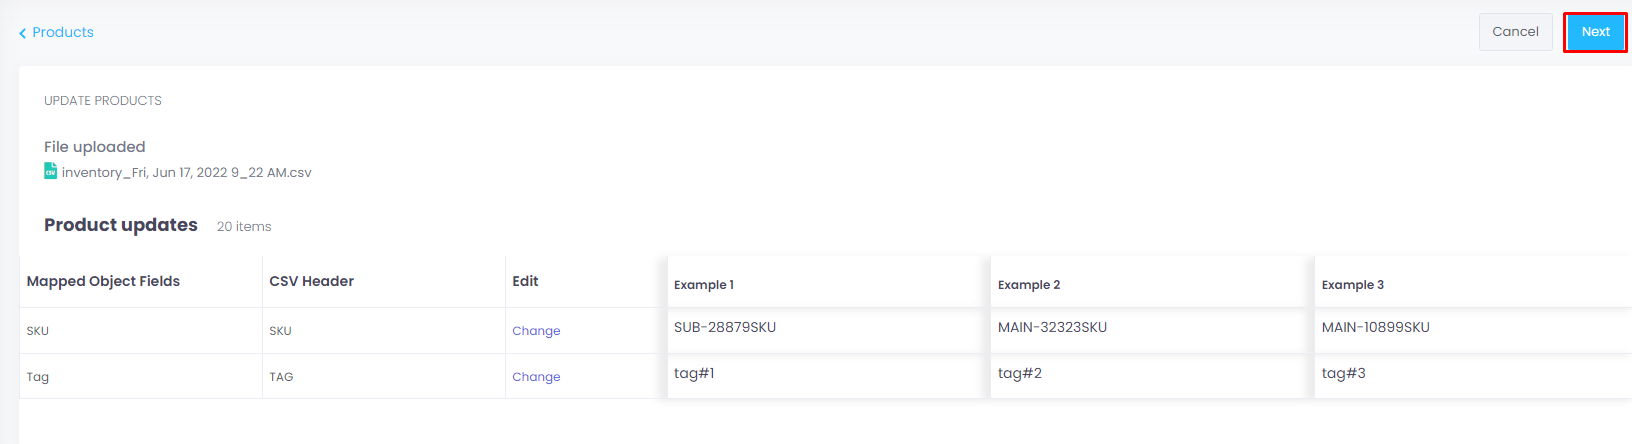
You will get to a preview of your “Product Updates”. If you are satisfied with the information then click on the “Next” button.
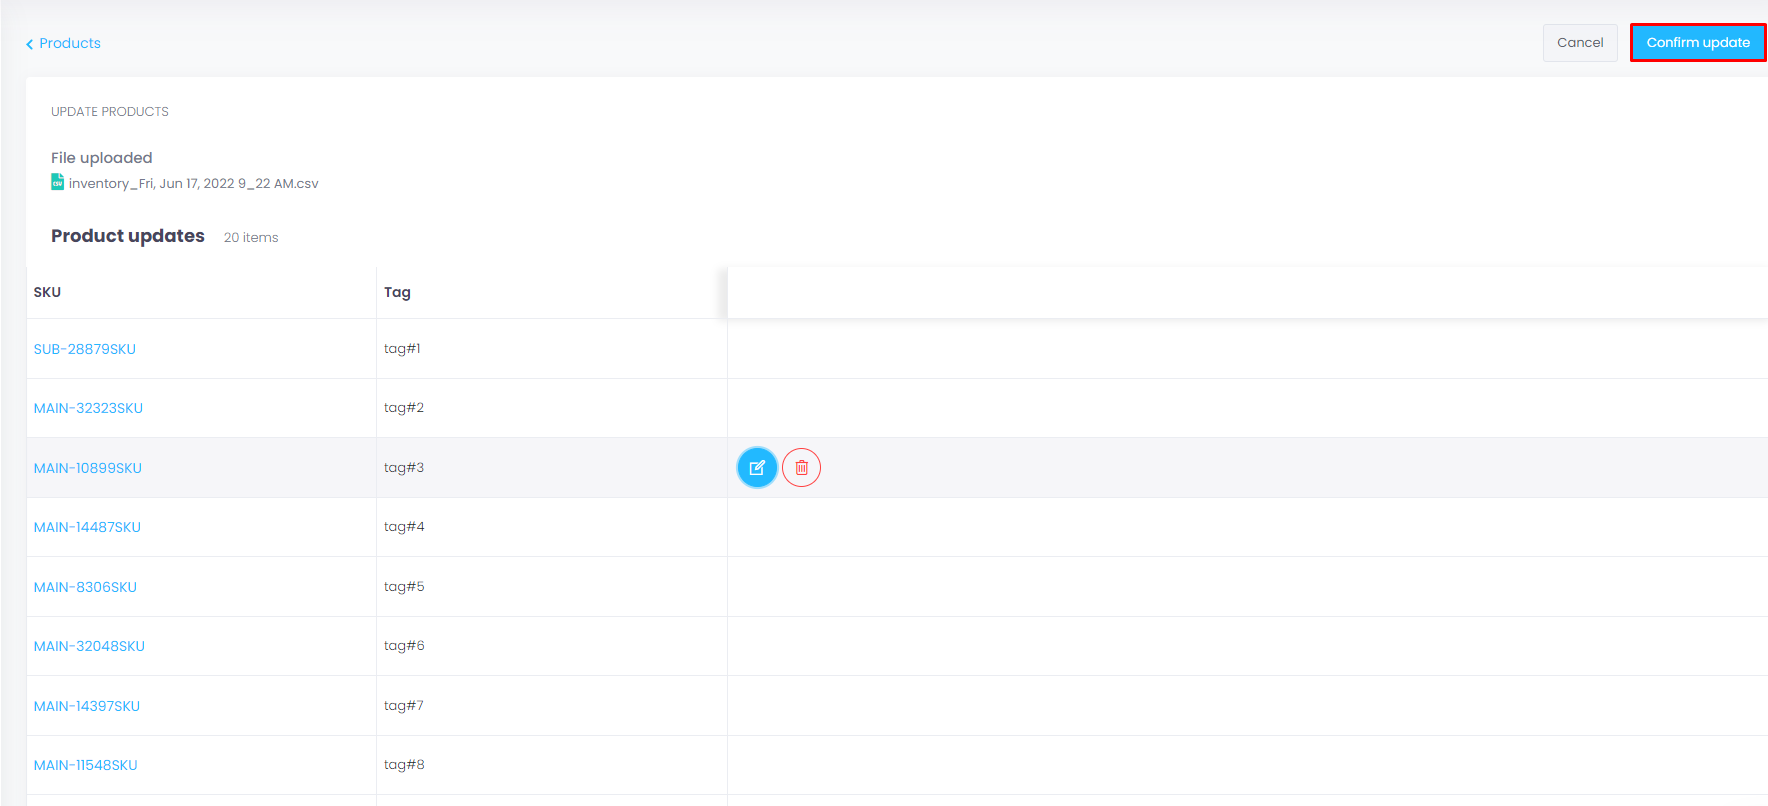
Here you can edit the SKUs or tags if needed. If you are satisfied, click on the “Confirm Update” button.
The file was uploaded successfully. Press the “Done” button.

You are all done assigning your tags!


